Contents
Lighting and facial depth: which direction shows the most?Five key lights, from front to sideWhere to put the light, and whenFill and softness: how deep, how sharpCeiling light indoors: what goes wrong and what helpsWindow light at home: one window is enoughFAQKey points
- The five key-light patterns are one spectrum: flat, butterfly, loop, Rembrandt, split. Each step to the side adds shadow.
- Fill sets how deep shadows go without changing the pattern.
- Softness depends on how big the source is next to the face. Soft light still has a direction.
- Ceiling light darkens the eye sockets and under the nose and chin. That is not side-light depth.
Lighting and facial depth: which direction shows the most?
The front-side. Move the key light 25° to 50° from the camera, a little above the eyes and angled down, and the nose shadow lands on one cheek.
Why is in the facial depth guide: a plane facing the light is bright, and when the two halves are lit differently, shading reveals front and back. With the light beside the lens, both halves match and the face reads flattest.
So “deep” and “even” are two ends of the light, not good and bad.
Five key lights, from front to side
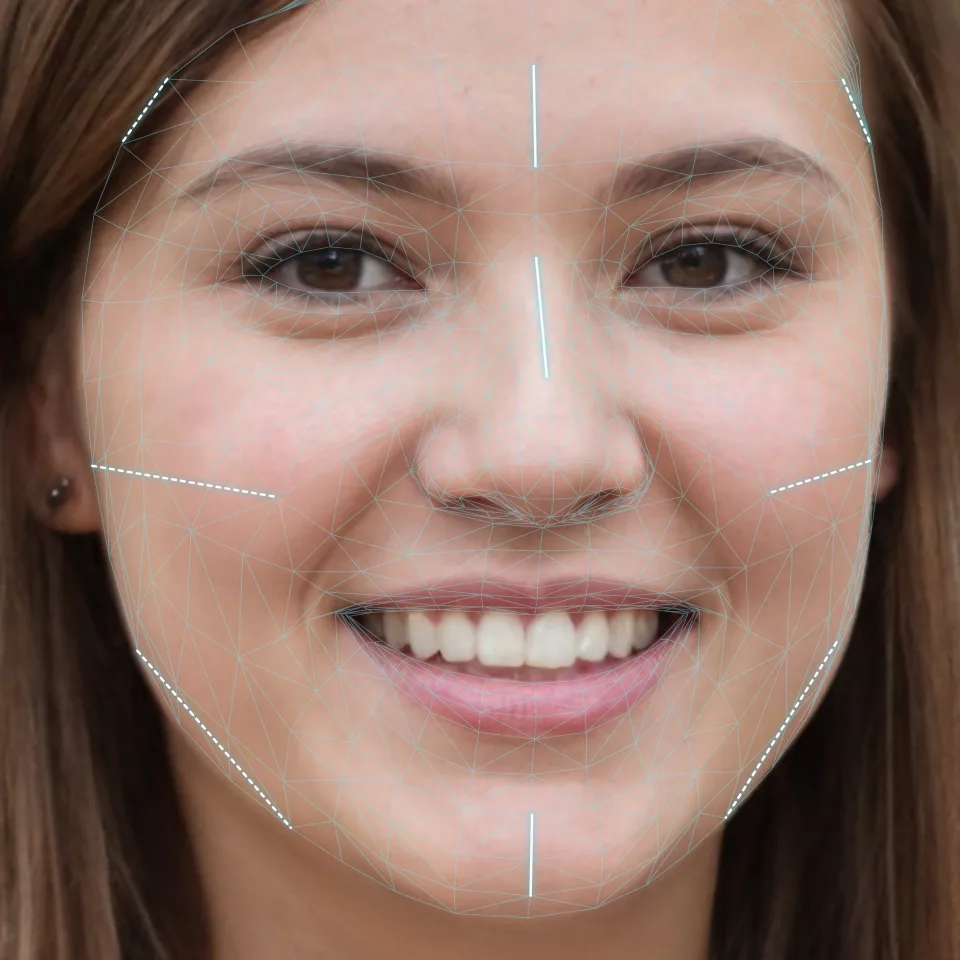
Photographers name five patterns, each the light swung further round the face:
- Flat: light beside the camera. Almost no shadow; skin texture smoothed out.
- Butterfly: raised straight ahead. A small butterfly-shaped shadow under the nose, a little under the cheekbones and chin.
- Loop: moved 25–50° to one side. The nose shadow makes a small loop on the cheek, not yet joining the cheek shadow.
- Rembrandt: past 45°. The nose shadow joins the far cheek’s, leaving a triangle of light under the far eye.
- Split: at 90°. A lit half and a dark half; texture and contours magnified.
Keep the light about a foot (30 cm) above eye level, angled down, like everyday light.
Where to put the light, and when
| Light position | Effect on the face | When to use it |
|---|---|---|
| Beside the camera | Least shadow, halves equal | Measuring; softening texture |
| Ahead, raised | Small shadow under the nose | A front photo with some shape |
| 25–50° to the side | Nose shadow on one cheek | Showing relief |
| 45° to 90° | One side largely shadowed | Strong contrast |
| Ceiling light | Dark eye sockets, under nose and chin | Avoid |
| From below | Light and shadow flip | Almost never |
The trade-off sits between rows one and three. A photo for measuring or for a face report wants even front light (setup in the facial thirds guide), exactly the light that shows the least depth.
Fill and softness: how deep, how sharp
The pattern sets where shadow falls. Two more knobs set its look.
Fill sets the depth. A white board or wall on the dark side bounces light back, say from three stops dark to one. The relief stays; the harshness goes. With strong fill, Rembrandt starts to look like loop.
Source size sets the softness. The bigger the light relative to the face, the more gradually shadows fade; the smaller, the sharper the edge. A large window or cloud is soft, a bare bulb or noon sun hard. Closer to a window means a bigger, softer source.
Soft is not flat: it still has a direction.
Ceiling light indoors: what goes wrong and what helps
Downlights shine straight down, like noon sun: the brow ridge shades the eye sockets; the nose and chin cast shadows below. That darkness comes from blocking, not from side-light relief.
Try these in order:
- With a window, turn the ceiling light off and use the window.
- Without one, a lamp at the side, at eye level, offsets the ceiling shadows.
- Lift the chin slightly and turn toward the light.
- Window plus ceiling light gives shadows in two directions, sometimes two colours. Keep one.
Window light at home: one window is enough
A window is large, soft and directional. Where you stand picks the pattern:
- Facing it, camera between you and the glass: flat light, good for measuring photos.
- Body at 45° to it: one side lit, one in soft shadow. The everyday depth light.
- Window at your side: split light; the dark side needs fill.
About 2 to 6 feet (0.6–1.8 m) away works best: closer is brighter with more contrast, farther is softer. Direct sun? Draw a sheer curtain. Dark side too dark? Add a white board.
FAQ
Why does a ring light make my face look flat?
It sits around the lens, so it gives flat light: both halves lit the same, little shadow. For relief, move a light to the front-side, or use a window.
Can I get depth on a cloudy day?
Yes. Cloud works like a huge softbox: the light keeps a direction, only the shadow edges soften. Turn slightly toward the brighter sky.
Can one photo work for both measuring and depth?
Rarely. Measuring wants even front light; depth wants the halves lit differently. Take two.